If you’re just getting started with crypto or Web3, you’ve probably heard of MetaMask. But what is it exactly? And how do you use it?
In this beginner-friendly guide, we’ll explain what MetaMask is, how to set it up, and how to connect it to decentralized apps (dApps). Let’s get started!
Contents
What Is MetaMask?
MetaMask is a crypto wallet that works as a browser extension and mobile app. It lets you:
-
Store your cryptocurrencies
-
Send and receive crypto
-
Interact with blockchain apps (like Uniswap or OpenSea)
-
Manage multiple wallets in one place
MetaMask is most commonly used with the Ethereum network, but it also supports other blockchains like BNB Chain, Polygon, and Avalanche.
It’s one of the most popular wallets in the Web3 space — trusted by millions of users.
Why Use MetaMask?
✅ Free and easy to install
✅ Supports multiple networks and tokens
✅ Connects directly to Web3 dApps
✅ You control your keys and assets
✅ Open-source and community trusted
Unlike centralized exchanges (like Binance or Coinbase), MetaMask is non-custodial, meaning you own your private keys — and your crypto.
How to Install MetaMask (Step-by-Step)
Here’s how to get started with MetaMask in just a few minutes.
🔹 On Desktop (Browser Extension)
-
Go to the official website: https://metamask.io
-
Click “Download” and choose your browser (Chrome, Firefox, Edge, or Brave)
-
Add the extension to your browser
-
Click the MetaMask icon in your toolbar to open it
-
Click “Get Started” and choose:
-
“Create a Wallet” (new users)
-
“Import Wallet” (if you already have a wallet)
-
-
Set a strong password
-
Write down your secret recovery phrase and store it somewhere safe (offline)
-
Confirm your phrase to finish setup
🎉 Now you have a MetaMask wallet!
🔹 On Mobile (App)
-
Download MetaMask from the App Store or Google Play
-
Follow the same setup steps as the desktop version
-
You can sync your mobile and desktop wallets if you want
How to Add Crypto to MetaMask
Once your wallet is set up, you can add cryptocurrency:
-
Click “Copy” your wallet address (starts with
0x...) -
Go to an exchange like Coinbase or Binance
-
Send ETH or another token to your MetaMask address
⚠️ Always double-check the address and send the right token to the correct network (e.g., don’t send BNB to an Ethereum address unless it’s on the BNB Chain).
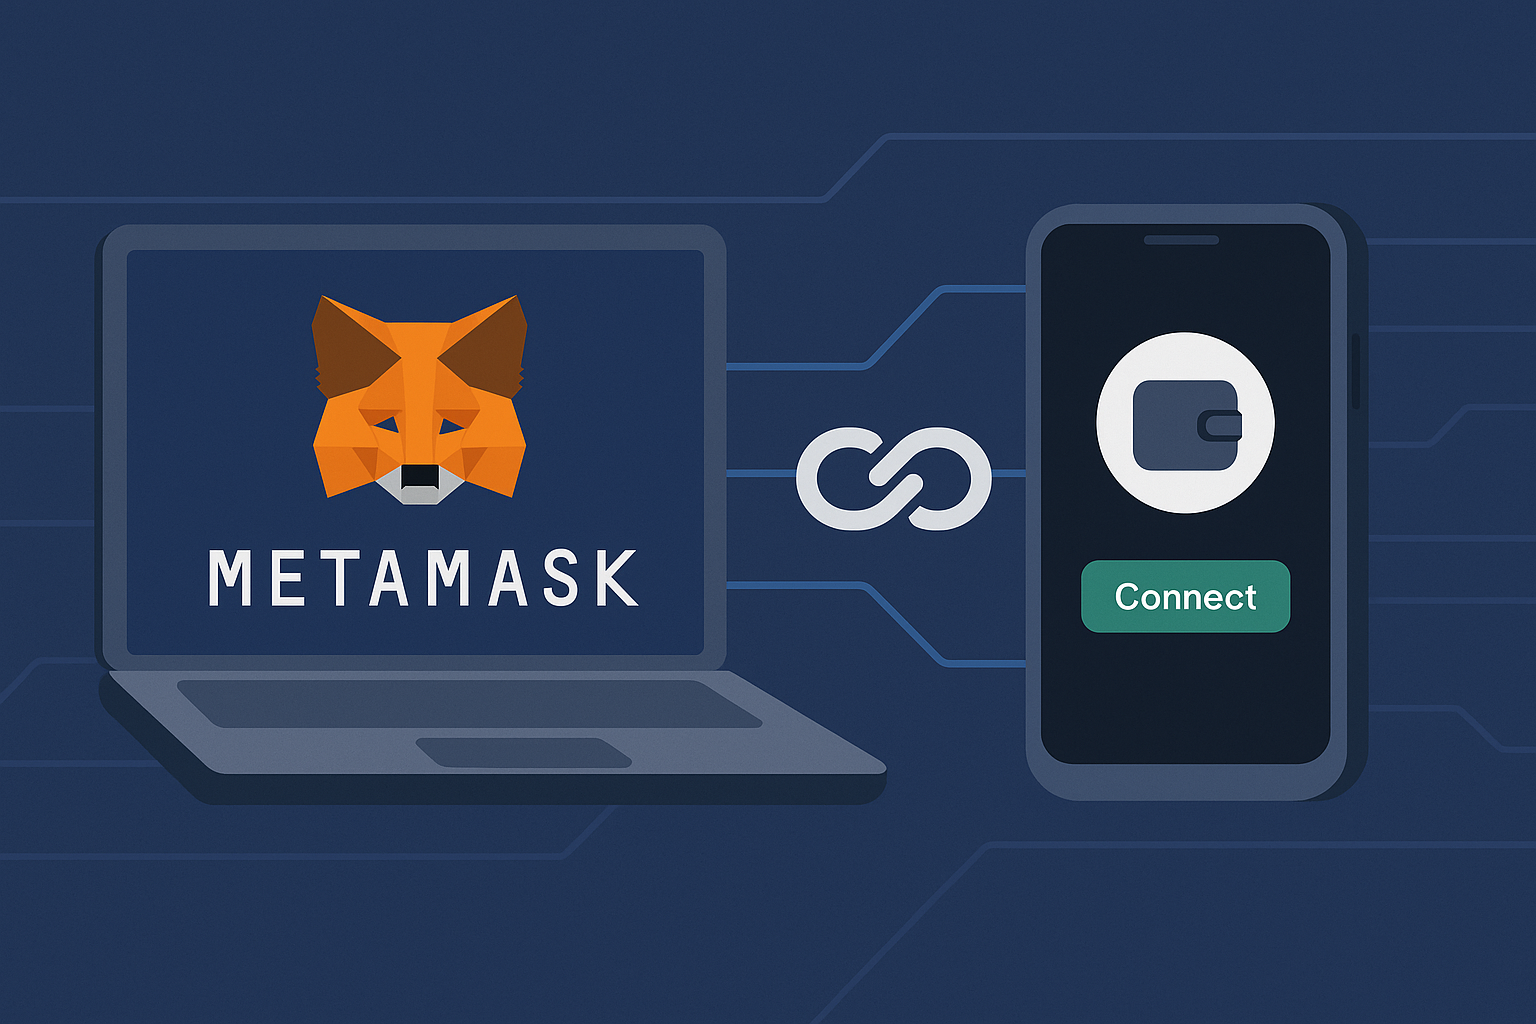
How to Connect MetaMask to a dApp
Now that your wallet is ready, you can connect it to any supported dApp:
-
Click “Connect Wallet”
-
Choose MetaMask
-
Approve the connection in the MetaMask popup
Once connected, you can start trading, minting NFTs, or using DeFi features — all with your wallet.
How to Switch or Add Networks
MetaMask works with multiple blockchains, but Ethereum is the default.
To use another network like BNB Chain or Polygon:
-
Click the network dropdown at the top (e.g., Ethereum Mainnet)
-
Click “Add Network”
-
Enter the network info manually (from the project’s official docs) or use https://chainlist.org to add them easily
-
Approve the network and switch
Now you can use dApps built on that blockchain!
Safety Tips for Using MetaMask
🔒 Never share your recovery phrase
🔒 Always use official websites and links
🔒 Beware of fake MetaMask apps or browser extensions
🔒 Use a hardware wallet (like Ledger) for extra security
🔒 Lock your wallet when not in use
If someone gets access to your wallet phrase, they can steal all your funds — and you won’t be able to recover them.
Final Thoughts
MetaMask is the gateway to the world of Web3. Whether you want to buy NFTs, trade tokens, or use decentralized apps, it’s the easiest way to get started.
It gives you full control over your digital assets and connects you to a growing ecosystem of crypto tools — all from your browser or phone.